In the second article in the series, we will be discussing how to propagate plants for the container garden in particular cuttings. The previous part discussed when we need to propagate plants and we learnt the most important aspect of propagating plants via the planting of seeds.
This present article we will be learning about the many techniques that can be used to increase your plant fold by taking cuttings. You will see that this can be done with herbaceous perennials softwood and hardwood cuttings and even root cuttings.
All the techniques you will ever need will be discussed, so if one technique fails and does not work, there are many more you can try. In total 10 techniques will be enclosed and with some practice can be carried out with little difficulty.
What follows is the techniques used to propagate via cuttings:
HERBACEOUS PERENNIAL CUTTING
During the growing season, many herbaceous perennial stock can be increased by soft cutting. You can do this easily and for free. In spring basal cuttings are best especially useful for plants like lupines and delphiniums if you want to reproduce them exactly.
During the late spring and throughout the summer, soft tips stem cutting can be taken, which in general will root very easily. The brilliant thing is that no expensive or special equipment is required.
BASAL CUTTING
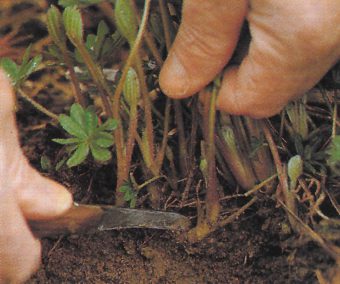
In spring take basal cutting from new shoots that arise right at the bottom of the plant. Scrape away a little soil or compost and cut the shoot as close to the crown of the plant as possible.
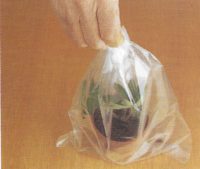
Place the cutting in a 9cm pot full of moist seed and cutting compost and then cover with a polythene bag. Place it in a warm, shady area in a cold frame will be sufficient but it will take a little longer to root.
You can adapt the above technique into what is known as an Irishman’s cutting. This is a simple basal cutting taken with a small amount of root. This is then planted in exactly the same way as basal cutting. The root should more or less guarantee success.
The plants that can be done this way include Achillea, Anaphalis, Anthemus, Campanula, Chrysanthemum, Delphinium, Dicentra, Gypsophilia, Hespens, Lupinus, Lychnis, Malva, and Polygonum.
STEM CUTTINGS
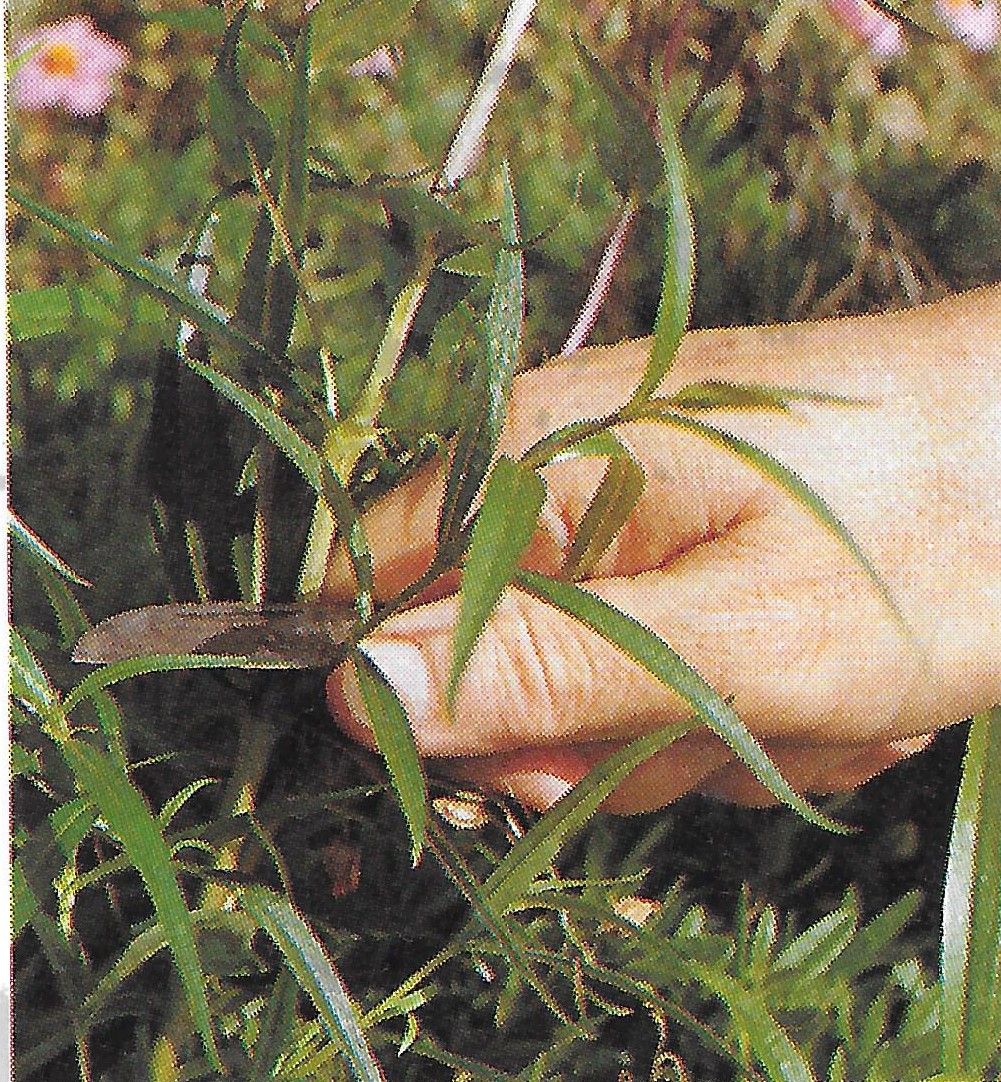
To take stem cutting you need to do this later in the year from June onwards. All you need to do is remove a strong non-flowering stem that is at least 10cm long from the tip of a shoot.
Get rid of the lower leaves just below a leaf joint and then dip the cutting in a hormone rooting powder.
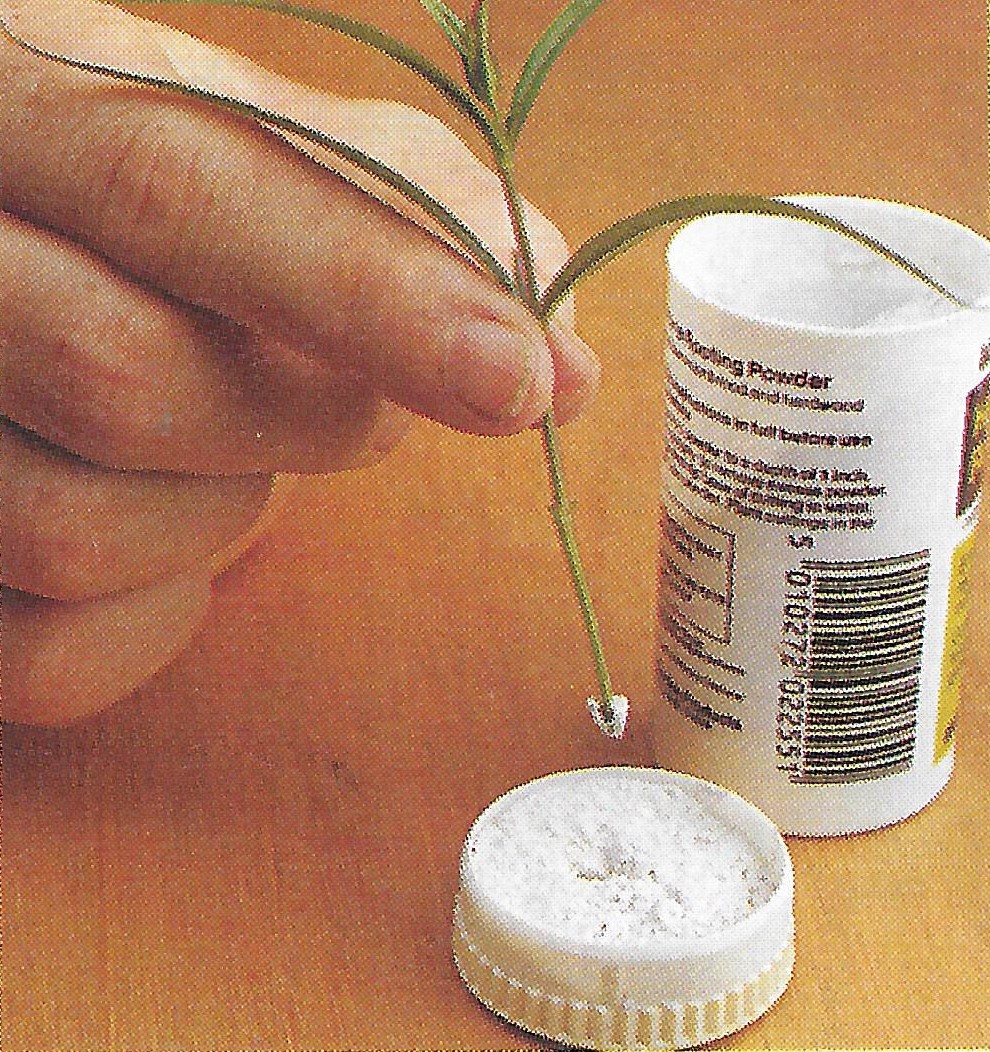
Then make a hole in a large 13cm pot diameter filled with seed and cutting compost and then add the cutting to them. You can make 4 to 5 cuttings to one pot and therefore increase your chance of a cutting taking. Water well and then cover with a polythene bag. This pot can then be placed in a cold frame or in a sheltered spot in a greenhouse until it has rooted.
The plants that can be done this way include Acaema, Ajuga, Anthemus, Ballota, Centaurea, Dianthus, Diascia, Euphorbia, Gypsophilia, Helenium, Helichrysum, Lysimachia, Penstemon, Phlomis, Sedum and Teucrium.
TENDER PERENNIAL CUTTINGS

Most tender perennial that cannot take on frost such as non-hardy Fuchsias, Geraniums and Argryranthemums can all be propagated by stem cutting in late summer in exactly the same way as highlighted above. This is the best way to overwinter these plants and as a bonus, you will have new plants in spring.

Some plants that have tuberous roots like dahlias, cosmos and perennial salvia are propagated slightly different:

Lift dahlias, cosmos and perennial salvias immediately after the first frost has touched them. Drain any water by getting rid of any leaves by cutting back, and then turning the clumps upside down for a few hours to allow them to dry. Chrysanthemums and Argyranthemum can be lifted and all compost shaken off. No draining is necessary.
Then place the tuberous roots into boxes filled with compost, so that the crown of the plant is just above the surface. Store them overwinter in a cool, frost-free place like a garage. You must ensure that the compost is almost bone dry.
In the early spring, they should be brought from the storage place into a position of full light. You will need to water regularly with a water sprayer. This will encourage the production of strong young shoots, which are ideal for cuttings.
When the cuttings are 10cm tall, detach them near the base and cut in the normal way. Remove the lower leaves and trim the stem just below a leaf joint (around 5cm tall).
Submerge the tip in a hormone rooting powder and then place them into a 13cm pot full of seed and cutting compost, with 4 cuttings per pot.
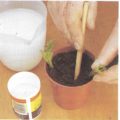
The newly planted cuttings would need a little heat from the bottom, and should be placed in a propagator or a heat mat. Spray with water occasionally to keep them from wilting.
Once the plant has rooted, this will then need to be repotted individually to 13cm pots and grown in a cool greenhouse or a windowsill.
In early summer this can be hardened off ready for planting in new containers. This is a long and laborious intensive method of producing new cuttings.
SOFTWOOD CUTTINGS OF SHRUBS
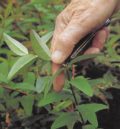
This is probably the easiest way and successful way of propagating shrubs. Like all cuttings, you will need to take multiple stems to increase your chance of success with ten being optimal. The best time to take cuttings is in late spring or early summer, where soft, new growth is best for cutting.
It may take 3 weeks to 6 months for cuttings to take, so it is best to leave them in their container until they show so form of perking up. They should be checked from time to time to remove any that show signs of rotting.
You need to select strong, young stems that have grown this year. Cut at the top 7.5cm of the shoot tip, very close and above a bud.
You will need to place the cutting straight away in a bag and kept out if the sun until you get back to your preparation area.
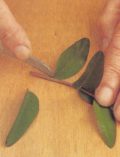
Using a very sharp knife remove the lower leaves, as if they are left on they will rot and spread diseases to the stems too.
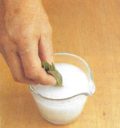
Trim the cutting stem to just below a leaf joint. With large-leaved plants, you will need to cut the top leaves by a half to reduce water losses.
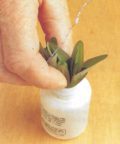
To make sure the cutting is fully protected against fungal infections submerge it entirely in a fungicide solution. Shaking off any excess.
You will need to dip the lower end into a hormone rooting powder.
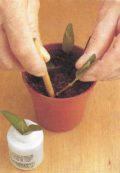
You will then need to make holes in a pot filled with 50% sand or 50% vermiculite, and 50% seed and sowing compost. Place 3 to 4 cuttings in each pot and water with a fungicide solution.
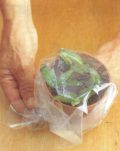
Cover the plant with think layers of Clingfilm, so that it just touches the cuttings lightly. Tuck it underneath and make a seal as supporting the polythene above the cuttings, as excessive moisture will cause the plant to rot. You will have to leave the cutting actual dry.
You will then place the pot in a cold frame in the shade. Ideally, you should vary the shade to give more light on sunny days. This can be easily achieved by placing greenhouse shading netting over the top of the cold frame.
HALF-RIPE CUTTING OF SHRUBS
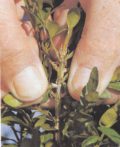
If the softwood cutting of shrubs fails in early summer, you get a second chance in late summer with half-ripe hard cutting.
This consists of young shoots from the current season that had just started to turn woody at the base. They often take longer than softwood cuttings to take root but by late spring that should have taken.
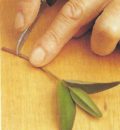
Remove the cutting by gentle pulling the cutting away from the main stem. This will also remove a small piece of bark, so it is advised to take the cutting from a place where the scars cannot be seen.
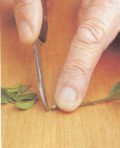
Trim the end of the cutting by removing any bark from the tongue of the cutting. This is best carried out with a very sharp knife, leaving a sharp point at the end. This will prevent any problem of rooting.
Dip the whole cutting in a fungicide solution and then the tip in a hormone rooting powder.
Then place the cutting in a 13cm diameter pots as you would softwood cutting. Water them with the same fungicide solution in which they were dipped in. You will then need to check from time to time to make sure that the cuttings have not dried out. Water with a fungicide water if they need it. You can then place it in a cold frame in order to take roots.
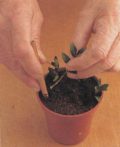
Some cutting will root quickly which can be told by feeling some resistance to the roots when you give the cuttings a thug. You can then leave them until the following spring, where they can be repotted up or planted out in your new container.
The plants that can be done this way includes Azalea, Berberis, Buddleia, Buxus, Calluna, Ceanothusm Choysia, Cistus, Cytisus, Daboccia, Erica, Escallonia, Euonymus, Genista, Hebe, Hypericum, Itea, Kolkwitzia, Lavatera, Lavandula, Phlomis, Philadelphus, Photinia, Potentilla, Pyrachara, Rhododendron, Ruta, Santolina, Senecio, Ulex, Viburnum, and Weigela.
HARDWOOD CUTTINGS OF SHRUBS
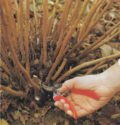
This is the easiest way to propagate some trees, shrubs, and bushes, as no skill or special equipment is required. Some plants like willow and dogwoods will root if you break off a shoot and place it in compost. Successful cuttings are more likely if the compost is still warm. There is also an increase in rooting activity in the autumn where the shrubs have just lost their leaves, so this is an ideal time to do it.

A few species root readily no matter where the cutting is taken, but it is better to take cutting at the base of the shrub where it joins the stem. Look for new shoots that have grown during the current season, and is about 10cm thick. Cut them off where the small scab in the parent plant cannot be observed.

Trim the bottom of the cutting just below a leaf joint and just above another leaf joint. Ideally, the stem should be 20cm long with all the top, soft growth removed.
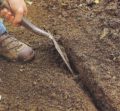
Dip the bottom of the cutting in a hormone rooting powder.

Fill a large deep container full of seed and cutting compost and then make a slit trench by simply pushing the spade to its fill depth and pulling the spade slightly backwards. The trench created should be upright and quite deep.

Fill the trench to about a third of its depth with sharp sand, which will take excess water away from the base of the cuttings and will improve aeration.

Place the cutting 10cm apart, where the bases of the cuttings should rest in the sand and the tops should be around 7.5cm above ground. Refill the trench with compost and firm in well using your hands.
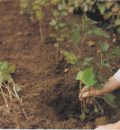
After a year most cuttings would have sufficiently rooted to enable them to be individually transplanted. The following autumn, new growth should be observed in the cutting, where they can be separated and planted in a larger container full of multipurpose compost.
The plants that can be done this way include Berberis, Buddleia, Buxus, Cornus, Cotoneaster, Forsythia. Garrya, Kerria, Leycesteria, Ligustrum, Non-climbing Lonicera, Oleana, Philadelphus, Ribes, Rosa, Salix, Sambucus, Spirea, Symphoricarpus, Tamarix, Deciduous Viburnum, and Weigela.
LEAF, LEAF BUD AND EYE CUTTINGS
There are some specialised form of propagation that are quite successful with certain species. These are often prescribed for houseplants that can be increased by leaf cutting or leaf bud cuttings. Some hardy shrubs can be propagated by leaf bud cutting such as Camellia, Mahonias and Rhododendrons.
LEAF- BUD CUTTINGS
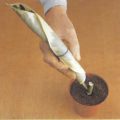
Plants with large leaves like rubber plants can be propagated via leaf bud cuttings. All you need to do is cut off a small portion of stem with one bud and one leaf. If the leaf is too large it can be rolled up and held with a runner band in order to reduce water loss. Insert it into a 13cm diameter pot full of seed and cutting compost, ensuring the bud is just above the compost level.

Once the leaf stem has rooted a tiny shoot will grow from the base. Leave the original leaf until it begins to wither and die.
Houseplants that suitable for leaf-bud cuttings include Cissus, Ficus and Rhoicissus.
EYE CUTTINGS
Eye cutting are used extensively from propagating vines and with this, it tends to be very successful.
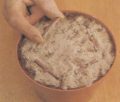
All you need to do is take a stem, cut it into pieces, each piece being 5cm long. You have to ensure that each piece contains a growing bud. Remove the bark from the bottom of each stem with a sharp knife and then press it into seed and cutting compost with the bud facing upwards.
5 pieces can be easily pressed into a 13cm pot. Rooting will be aided if a little silver sand is first sprinkled on top of the compost, where the eye cuttings can be placed on top of it.
LEAF CUTTINGS
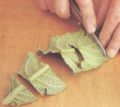
The leaves of houseplants can be used for propagation where firstly you need to remove a leaf from the parent plant. Choose a healthy leave and cut it with a knife, close to the main stem.
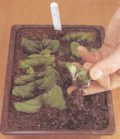
Place the leaf on a firm surface and then cut right across the leaf at regular intervals. Each piece is then placed in a seed tray full of seed and cutting compost making sure that the end which was nearest to the plant goes into the compost.
After six to eight weeks small plantlets will have developed from the side of the cutting in the compost. They can then be transplanted individually to pots and allowed to grow on.

Begonias leaves can be cut into small squares and laid flat on seed and cutting compost where they will eventually root. You will need to hold the pieces flat with a wire clip, otherwise, it will not root.
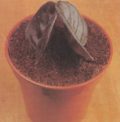
Another method for increasing African violets and gloxinias plants is to induce roots from the leaf-stalks. Cut each leaf stalk with a sharp knife to leave about 2.5cm in length. Insert the leaves back to back in a pot of seed and cutting compost where they will eventually form roots and produce small plantlets.
Houseplants suitable for leaf cuttings include Aeonium, Begonia, Crassula, Echeveria, Gloxinia, Peperomia, Saintpaulia, Sanseveria, Sedum, and Streptocarpus.
OTHER TECHNIQUES
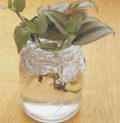
Some plants, especially those with soft stem can easily root in water. All you need to do is fill a jar with tap water and cover it with aluminium foil. Then poke the cutting through the foil and into the water, and place it in a warm area. Replace the water when it becomes discoloured. The biggest disadvantage with this method is the roots are brittle making it difficult to plant in multipurpose compost.
ROOT CUTTINGS
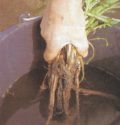
Taking cuttings from the roots is a successful way of increasing plants that are difficult by other means. This method is not as popular as others, probably due to the parent plant has to be dug up.
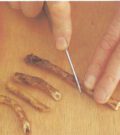
There is no need to worry as the parent plant can be replanted afterwards. To do this it is essential to take cutting from young plants that are growing vigorously. Older plants tend not to do well. The time to do this is in the dominant season in early winter. The techniques vary from root to root depending on its thickness.
Dig up the young plant, keeping as much of the root system intact as possible. Loosen the compost and with wash the remaining compost from its roots.
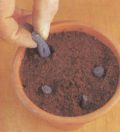
If the roots are fleshy remove the roots from the parent with a clean-cut straight across near the crown of the plant. Cut the roots into 5cm long sections, making the lower cut at a 45-degree angle to ensure that you know which way up to put the cutting in. Remove any fibrous side roots.
Place the pieces into a polythene bag containing some fungicide powder. Shake them making sure each piece is covered. You will then need to insert them with the sloping cut facing downwards into a large pot full of multipurpose compost and with the top just below the surface.
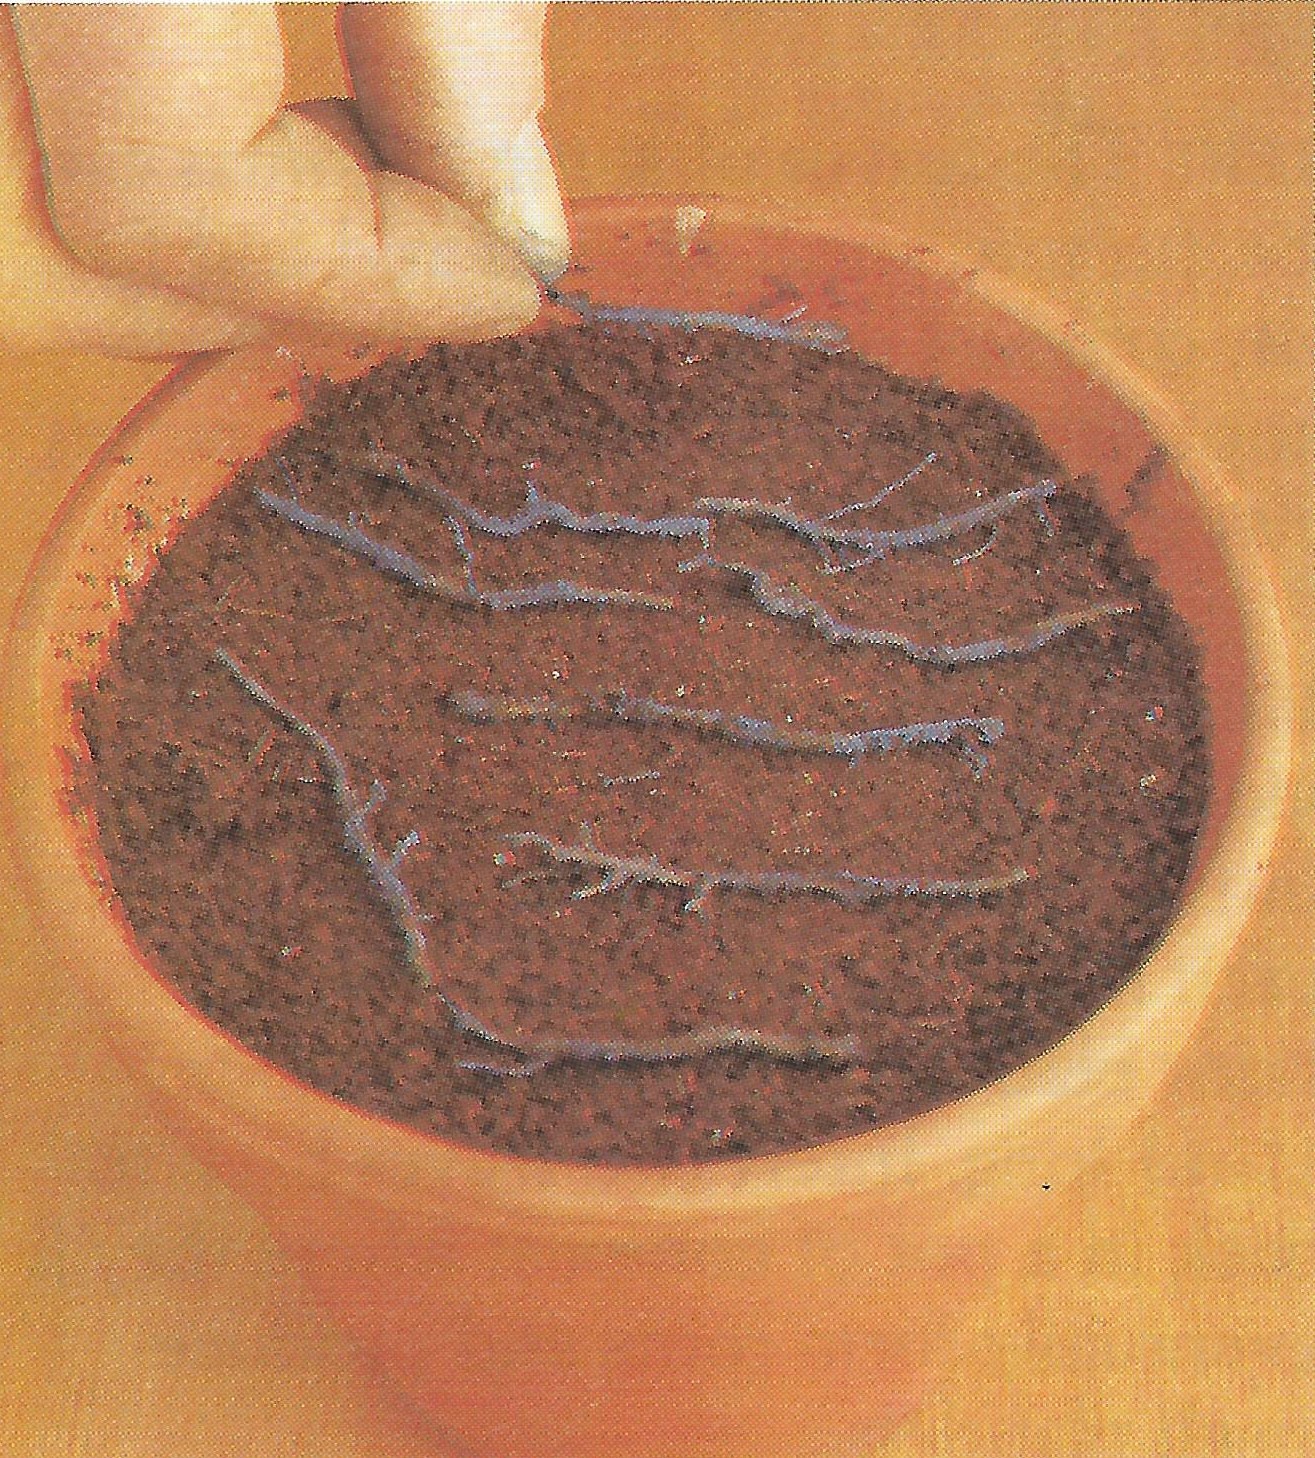
If the roots are thin, the roots are removed as above but then cut into sections that are 7.5cm long. Again cover them with fungicides but this time lay the cuttings horizontally on the compost and lightly cover them.
The cutting needs no heat and can be rooted in a greenhouse or cold frame covering with fleece of a severe forecast is predicted. By spring the following year, new life should be visible, where new shoots should have appeared. They then can be individually pricked out and moved into a pot full of multipurpose compost. It eventually can be rehoused in a container outside.
plants suitable for Root Cuttings; Acanthus, Ailanthus, Anchusa, Anemone hybrida, Brunnera, Catananche, Clerodendrum, Crambe, Dicentra, Dictamnus, Echinacea, Eryngium, Limonum, Lythrum, Nepeta, Papaver orientale, Phlox, Primula denticulata, Rhus, Robinia, and Romneya.
INTERNODAL CUTTINGS
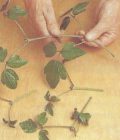
Clematis is propagated in a pretty peculiar way in that the cuttings are taken in a slightly different method from that of other plants. You can cut between the leaf joints instead of just underneath, which are called ‘internodal cuttings’.
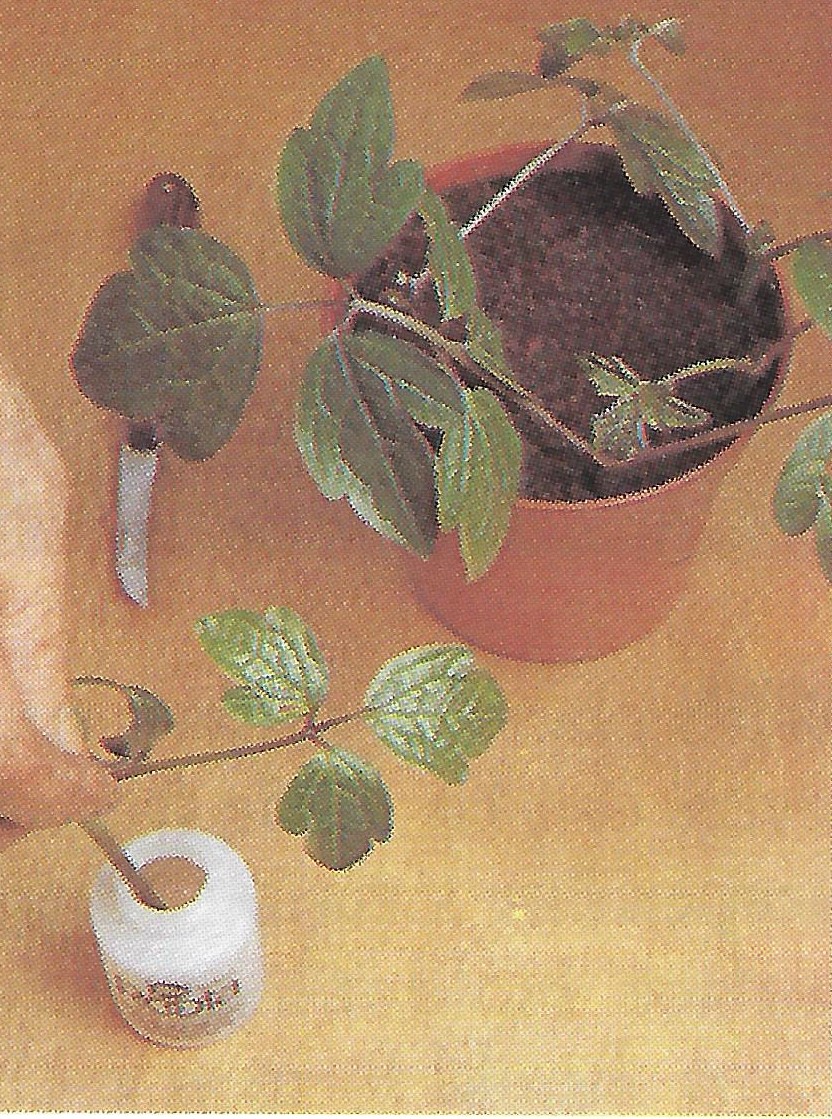
Remove a section stem from a vigorous plant and trim between the leaf joint to leave about 5cm below the pair of leaves. Trim the top of the cutting immediately above the leaves.
Immerse the cutting in a solution of fungicide then dip the end in hormone rooting powder. The cutting is then placed into seed and cutting compost so that the buds in the leaf joints rest on or just below the surface.
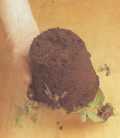
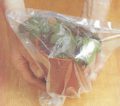
Cover the pot with a polythene bag and tuck in at the bottom to create an airtight seal. This is then placed in a shaded cold frame.
When the leaves have perked up and the cuttings have developed new roots, they can be individually potted on and grown on to a good size. They can then be planted permanently into a container outside.
CONCLUSIONS
In this second part of the series, we have discussed how to propagate plants for the container garden in particular cuttings. Many techniques have been demonstrated which can be used by any gardener in order to propagate their precious container plants.
The technique to use is dependent on what plant you wish to grow and how competent you are as a gardener. Some gardeners will be more confident and therefore use more complicated techniques, whilst others will only be confident in using simpler techniques. It is a trial and error procedure using all the techniques outline here until you find one you are comfortable with.
If you have any questions that are cutting into you or any comments that you wish to make, please do so in the comment box below.
Thanks

Thank you very much for this tutorial. I learned a lot about growing plants. My wife recently bought a lot of succulents from the Internet. She put the plants in the container herself. I think I should share your website with her because you are more professional than her. She must be able to learn a lot. thank you!
Hi Jax
Thank you for stopping by and commenting. Propagating plants via cuttings is a great way of producing plants for very little cost, and can be done for a wide range of plants indoors and outdoors. Stay tuned for the third part.
Kind regards
Antonio
wow thanks for all the information on propagating plants. I had no idea there were so many ways to multiply them
naturally. Do you recommend using seeds from store bought fruits and vegetables? What are the easiest ways to
grow vegetables . Potatoes, beans, tomatoes and such.
You have a lot of information and help for any one who would like to grow plants in containers.
shannon
Hi Shannon
It is quite surprising to know how many different techniques of propagation there are out there. For seeds I would recommend shop bought ones as they are likely to breed true and have a higher level of germination. For growing vegetables I recommend you read my articles onGrowing Vegetables in Containers- Growing your Own Meals andGrowing Potatoes and Tomatoes in Containers to get started.
I think you will enjoy them.
Antonio
Wow! You really share some great information on this article, I’ve become a gardener lately with some success growing some flower plants like geraniums, violets, orchids and even some tropical plants like avocado trees (currently we have 3 small trees at home) and one beautiful plant of bugambilia.
We live in Canada, so it’s have been a learning curve as I didn’t know much about gardening at all, I’m so glad I found your site as I see after reading your article about how to propagate plants for free in the container garden, I’m sure I can learn a lot from you, be sure I’ll be back to read more!
I already told my husband we need a small green house to keep my plants during the long and cold Canadian winter.
Hi Alejandra
Thank you for those kind words, which are very much appreciated. A greenhouse is a must for any gardener as it is amazing what can be grow in them, you can get such a good head start. Cuttings are really ideal to be grow in them but more so in cold Frames. It is amazing on how many free plants you can get if you follow the instructions in this article.
Thanks
Antonio
Thanks a lot for describing this method to propagate plants for the container garden.
You put here a lot of useful informations. About the first article i learn to do this method with seeds. I always wanted to increase my plant fold by taking cuttings. The idea was that we had no knowledge’s and I was afraid of failing. My favorite is leaf cutting. It is extraordinary how much it need to cut right across the leaf at regular intervals. Carefully, each piece must be placed in a seed tray full of seed. I think if you skip a step and you’re not doing well, you risk ruining everything. As you said, if i will do this i think i will be more confident and maybe i will try new and complicated techniques.
Thanks again for this instructions and hope to see more like this.
Hi Nimrodngy
Thank you once again for stopping by and commenting. Seed are a must for any gardener to know but taking cuttings is great to increase your existing stock and for very little cost, so what is not to like. I still got the final part to go and that had more technically challenging ones, so tune in.
Kind regards
Antonio
Hey Antonio, Thanks for your guidelines on propagate plants for the container garden in particular cuttings. Many techniques have been demonstrated which can be used by any gardener in order to propagate their precious container plants. I found you describe each cutting in step by step process. I enjoyed your whole article and share with my friends too.
Thanks you, I love your guiding method.
Parveen
Hi Parveen
Thank you very much for your kind words. Propagating via cuttings is such an important technique that it is surprising that many gardeners do not try it. They should as you can get many free plants with little effort.
Why don’t you try doing some today.
Kind regards
Antonio